
Many 3D Printing Failures Start at the First Layer
Speed and resolution are what printers are sold on. Whether the first layer sticks is what decides if anything finishes.

Part of the guide: Tools and DIY Buying Mistakes: What Fails and How to Check Before You Buy
3D printers are sold on print speed and layer resolution. Owners spend their first month on neither, because the thing that decides whether a print finishes is what happens in its first two minutes.
If the first layer does not bond properly to the plate, everything built on it is compromised — and the visible failure often arrives hours later, when a corner lifts and the part detaches mid-print.
Fear Index · Think twice
The failure is at the start, not the end
A print that fails at hour eight often failed in the first two minutes; the evidence just took time to appear.
Why the first layer governs everything
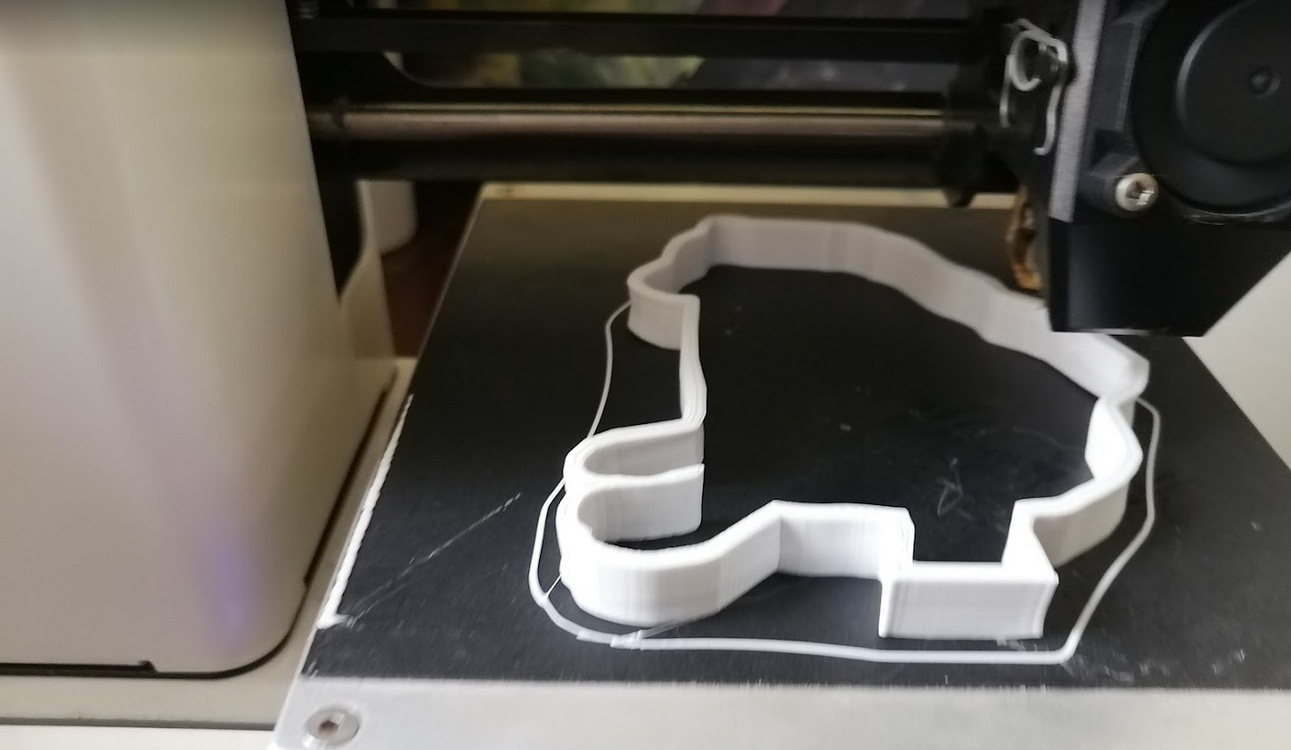
The first layer is squashed deliberately. The nozzle sits slightly closer than one layer height so the plastic is pressed into the surface texture, maximising contact area.
Too high and the filament lays as a round bead with minimal contact — it looks like separate lines that do not touch, and it peels. Too low and the nozzle drags, creating ridges and eventually blocking.
A correct first layer looks like slightly flattened lines fused into a continuous sheet, with no gaps and no rippling.
Print a first-layer test square before any long print. Two minutes spent there saves an eight-hour failure, and it is the habit that separates frustrated owners from happy ones.
Build surfaces, compared honestly

The plate surface matters as much as the levelling.
| Surface | Holds | Notes |
|---|---|---|
| Textured PEI (spring steel) | PLA, PETG, ABS | Best all-round; parts release when cool |
| Smooth PEI | PLA, ABS | Very strong grip; PETG can bond permanently |
| Glass | PLA with adhesive | Perfectly flat, needs glue stick or hairspray |
| Bare aluminum with tape | PLA | Cheap, tape is a consumable |
The causes nobody mentions
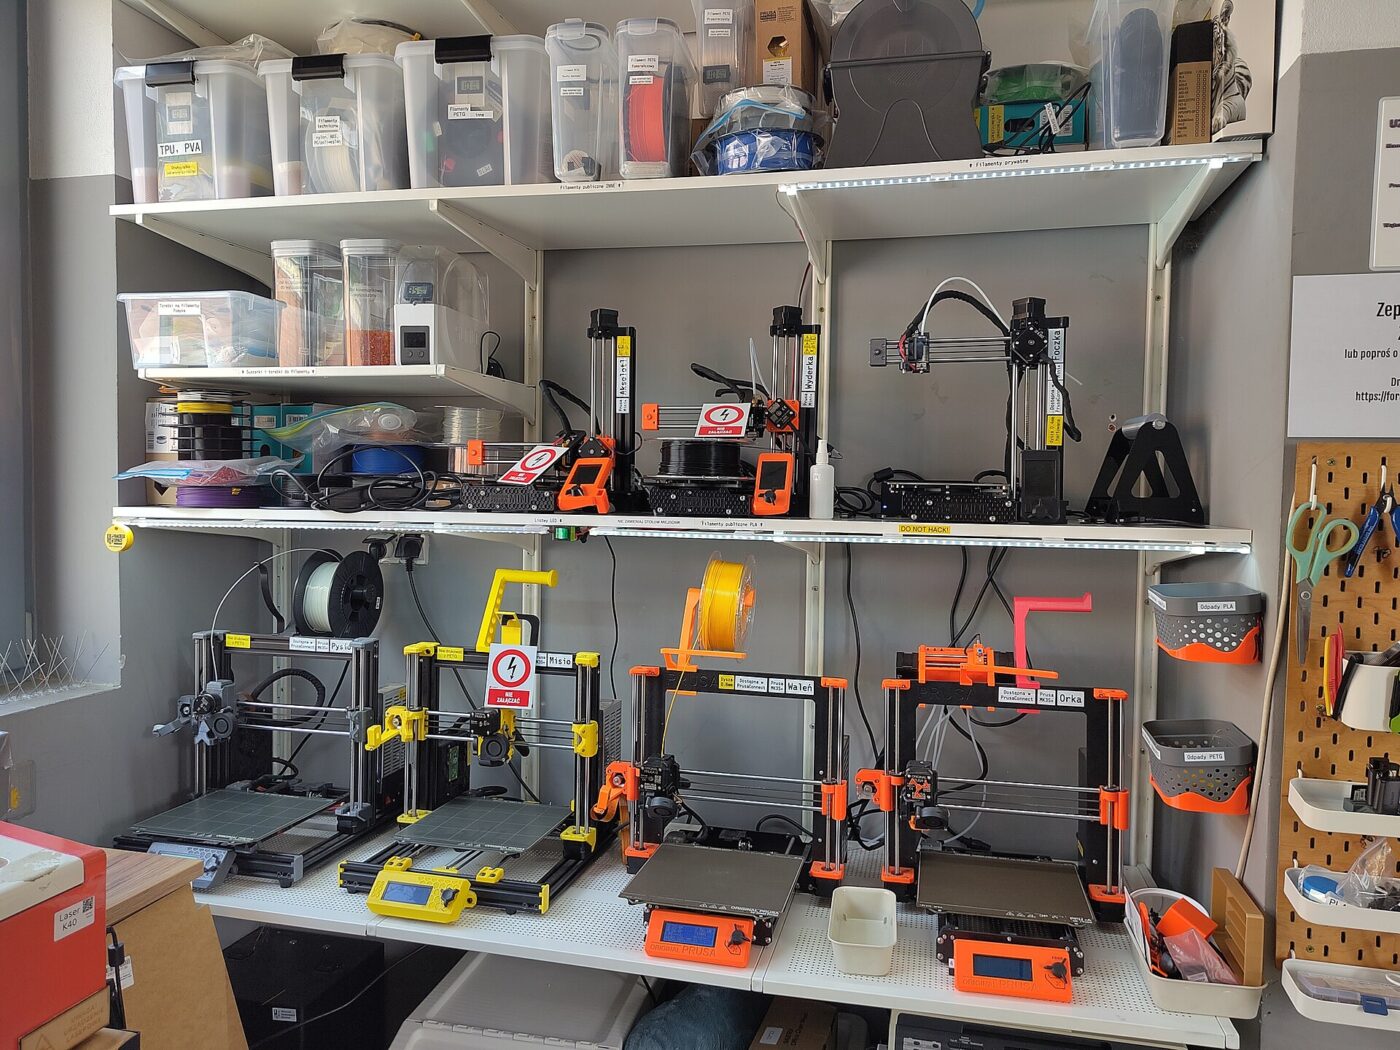
When a printer that worked stops adhering, the cause is usually one of four things and none is a component failure.
- Finger grease. Handling the plate leaves oil that destroys adhesion. Wipe with isopropyl alcohol for routine cleaning; if adhesion has already dropped, wash the plate in warm — not hot — water with a little dish soap, which lifts oils that alcohol alone leaves behind. Never use acetone on a textured PEI sheet; it damages the coating.
- Wet filament. PLA and especially PETG absorb moisture. Damp filament pops and hisses as it prints and bonds poorly. Dry it.
- Drafts. A cold draft across the bed causes warping on larger parts, particularly with ABS.
- Bed temperature drift. Cheap thermistors read optimistically; the surface can be cooler than the display says.
What leveling actually fixes
Auto bed leveling probes a grid of points across the plate and builds a mesh the firmware uses to raise or lower the nozzle as it prints the first layer. That corrects for a plate that sits slightly tilted in its mounts, or has a small dip or high spot within the probed area.
It does not flatten the plate itself. A sheet that has warped enough to rock on a flat table, or that shows daylight under a straightedge at the corners, is often beyond what the mesh can compensate for — the nozzle would have to travel further than its software limits allow, or the correction is large enough that print quality suffers even where it works.
Check a plate for warp before blaming the software: remove it and set it on a truly flat surface, then look for rocking or light passing beneath a straightedge. A warped spring-steel sheet usually needs replacing rather than re-leveling.
Heat is the usual cause. Repeated cycles up to bed temperature, an uneven heater, or a plate left on a hot bed after a print finishes all encourage warping over time. Letting the bed cool before removing a finished print, and storing spare sheets flat rather than leaned against something, both extend how long a plate stays true. A plate that already rocks measurably is not worth chasing with a leveling routine — replacing it costs less than the filament wasted on repeated failed prints.
The shortlist
Paid links: we earn a commission if you buy through the buttons below, at no extra cost to you. As an Amazon Associate I earn from qualifying purchases.
Compared on how reliably things stick
| Product type | Best for | Risk estimate | Where to buy |
|---|---|---|---|
| Textured PEI Spring Steel Build Plate | Holds PLA and PETG | 18/100 | See listings on AmazonOpens Amazon search results, not one listing: check the model on the product page. |
| Beginner 3D Printer with Auto-Levelling | Beginner-friendly printer | 40/100 | See listings on AmazonOpens Amazon search results, not one listing: check the model on the product page. |
| Filament Dryer Box | Damp filament | 26/100 | See listings on AmazonOpens Amazon search results, not one listing: check the model on the product page. |
Risk estimate is our editorial Fear Index for the product type (lower is safer), not a customer rating. How it is scored.
Textured PEI Spring Steel Build Plate
If adhesion is your problem, change the surface before changing anything else. Wipe it with alcohol day to day; wash with dish soap only when adhesion actually drops.
- Holds PLA and PETG without glue
- Parts pop off when the plate cools and flexes
- Washable and long-lasting
- Needs a magnetic base
- Smooth PEI can bond PETG too well
Filament Dryer Box
Filament that has sat open for months prints badly in ways that look like machine faults. This eliminates that variable.
- Removes absorbed moisture
- Stops hissing, stringing and weak layer bonding
- Doubles as dry storage
- Another appliance
- Slow — several hours per spool
More: Hobbies & Making analyses and how the Fear Index is scored.
Questions people actually ask
Why is my 3D print not sticking to the bed?
Usually nozzle height on the first layer, or grease on the plate. The first layer should be visibly squashed into a continuous sheet, not laid as separate round beads.
How do I clean a 3D printer build plate?
Wipe it with isopropyl alcohol between prints. If adhesion drops, wash it in warm — not hot — water with a little dish soap, which lifts oils that alcohol alone leaves behind. Never use acetone on a textured PEI sheet.
Is a PEI build plate worth it?
It is the most effective single upgrade for adhesion. Textured PEI holds PLA and PETG without glue, and parts release themselves when the plate cools and flexes.
Does filament need to be dried?
PLA and especially PETG absorb moisture from the air. Damp filament hisses while printing, strings badly and bonds poorly — symptoms easily mistaken for a printer fault.