
The Mold in an Insulated Bottle Lives in the Lid Gasket, Not the Bottle
Dark spots in a bottle lid usually sit under the silicone seal. How to remove and clean gaskets, what dishwasher-safe covers, and when to replace the seal.

Part of the guide: Home and Kitchen Buying Mistakes: What Fails and How to Check Before You Buy
Insulated stainless steel bottles are easy to keep clean on the inside: a smooth wall, a wide mouth, nothing to hide in. The lid is a different object, with threads, a flip or straw mechanism, air channels and at least one silicone ring pressed into a groove.
That groove is where dark spots and a musty smell tend to start. Drinks other than water leave sugars and milk behind, a lid screwed on while still damp keeps everything moist, and a gasket that is never removed is never actually cleaned.
Fear Index · Think twice
A clean-looking bottle with a dirty seal
The problem hides out of sight: residue and moisture under a gasket that is never removed, sealed in by a lid screwed back on while still wet.
Why the lid, not the bottle
A bottle only stays leakproof because the lid squeezes silicone gaskets into channels, and those channels hold a film of liquid after every drink. Rinsing the lid under a tap moves water across the visible surfaces but does little in the groove underneath the ring.
Straw lids and flip spouts add more of the same: narrow tubes, hinges and valves that stay wet. Coffee with milk, smoothies, sports drinks and juice leave more residue than water does, and a bottle closed straight after washing traps humidity in the lid for hours or days.
Thermos’ cleaning guide says to disassemble the lid as far as it goes, remove the gasket if it comes out, and wash each piece individually with soapy water and a small brush. It also says to air-dry completely with the lid off before reassembling. Those two habits address most of what goes wrong.
If a lid has never had its gasket removed, assume the groove underneath needs cleaning, even if every visible surface looks spotless.
Taking the lid apart

Most removable seals come out with a blunt tool or a fingernail worked under one edge. Avoid knives and sharp picks, which nick silicone and create exactly the kind of crevice you are trying to keep clean. Note how each ring sits before removing it; a gasket reinstalled upside down or twisted will leak.
Some lids come apart further than owners realize, with twist-off bases, removable straws or pop-out valves, while others are sealed assemblies that are not meant to be opened. Check the care information for your model before forcing anything apart.
- Soak the parts in warm soapy water to loosen dried residue.
- Brush the gasket groove, threads and straw with small detail brushes.
- Use baking soda or diluted white vinegar for lingering odors, as Thermos suggests.
- Skip chlorine bleach; Thermos and Stanley both say it can degrade sealing parts.
- Dry every piece fully before reassembling, and leave the lid off overnight.
- Replace the seal if dark staining remains after a thorough clean.
What dishwasher-safe does and does not cover
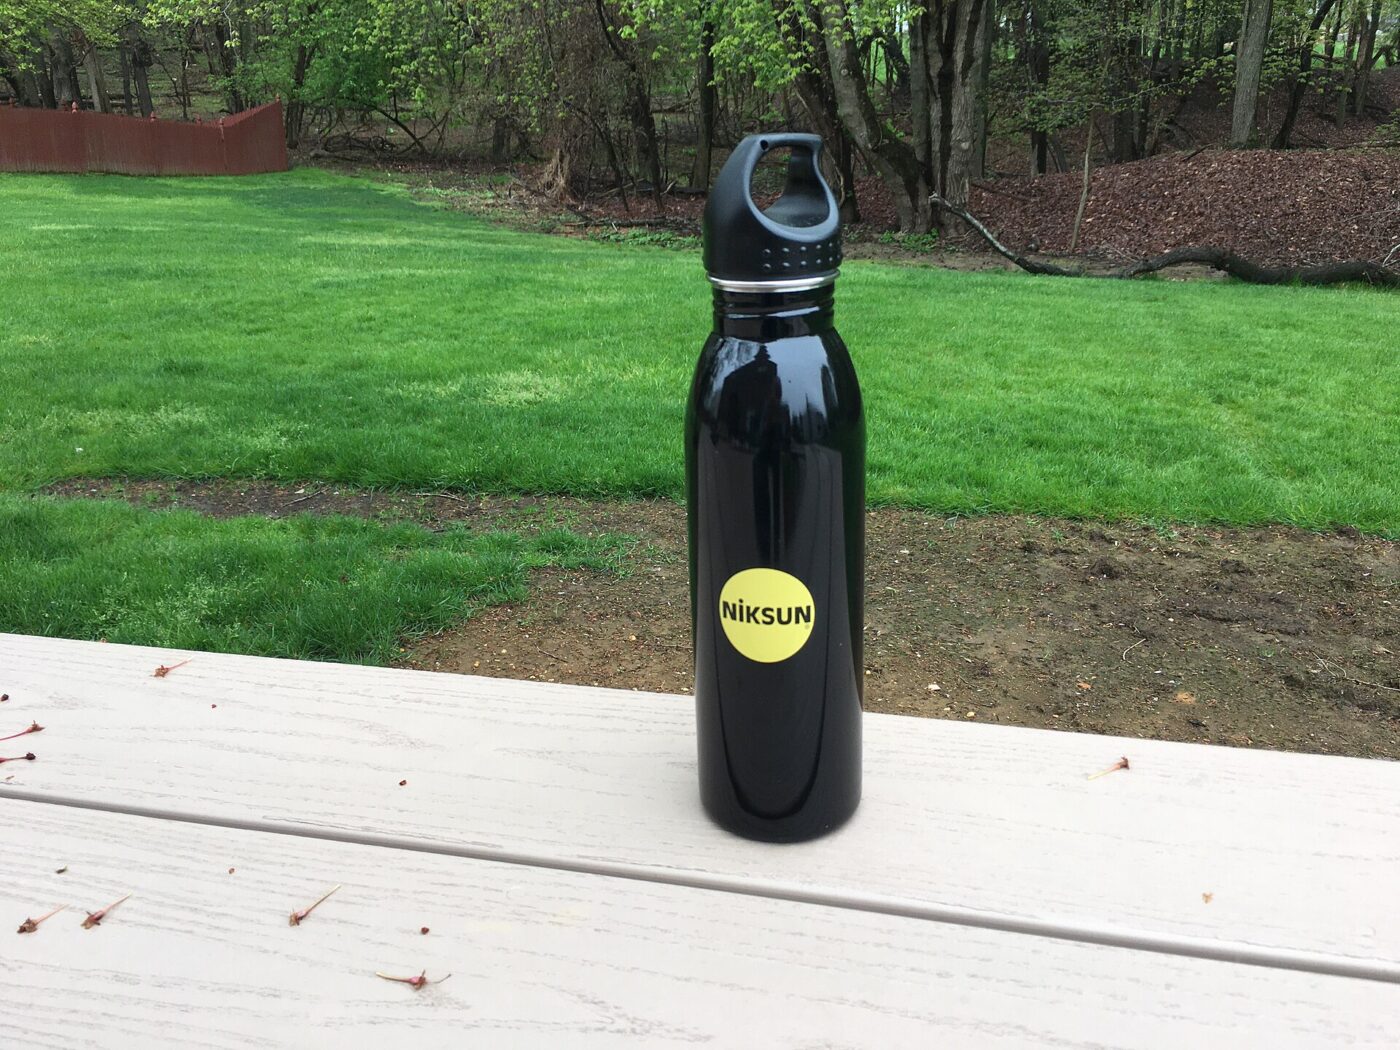
A dishwasher-safe label is a statement about damage: the finish, the insulation and the plastic parts are expected to survive the machine. It is not a promise that spray jets reach under a seated gasket or through a straw. Parts left assembled can come out looking clean and still be wet and dirty inside.
Manufacturers also attach conditions. Thermos says its bottles and food jars are dishwasher safe on the top rack only and advises avoiding the high-heat drying cycle, because repeated exposure to extreme drying heat can stress the vacuum seal. Stanley says many of its products are dishwasher safe and tells owners to consult the care and use information or the base artwork first.
The practical approach is to remove the gaskets and straw, place small parts on the top rack or in a utensil basket, skip heated dry, and let everything air-dry before it goes back together. Hand washing the lid with a brush remains the more thorough clean.
| Label or claim | What it usually covers | What it does not |
|---|---|---|
| Dishwasher safe | Body, finish and parts survive a cycle | Cleaning under a seated gasket |
| Top rack only | Keeps parts away from the most intense heat | Heated dry, which some brands advise against |
| Leakproof lid | Sealing when closed and assembled | How easy the seal groove is to clean |
| BPA-free | Plastic formulation | Resistance to mold or staining |
A routine that keeps seals clean
Daily, wash the bottle and lid with hot soapy water and leave them apart to dry overnight. Weekly, or after any drink other than water, pull the gaskets and straw and brush each part. That takes a few minutes and prevents the build-up that takes much longer to remove.
If dark spots or a musty smell come back within days of a thorough clean, or mold sits in a part you cannot open, replace that lid or the bottle rather than keep drinking from it. That matters more for anyone with mold allergies, asthma or a weakened immune system. Silicone seals are consumables. Heat, detergent and repeated stretching eventually leave them stained, swollen or loose in their groove, and a loose seal leaks as well as collects residue. Thermos notes its gaskets are replaceable, and many manufacturers sell replacement seals and lids for far less than a new bottle.
When buying, a lid that separates into a few simple pieces is worth more than an extra feature. Fewer hinges and hidden channels mean fewer places for residue to settle, and a wide-mouth bottle is easier to scrub and to dry.
Store bottles with the lid off. A lid screwed onto a damp bottle and left in a cupboard keeps the seal wet for days.
The shortlist
Paid links: we earn a commission if you buy through the buttons below, at no extra cost to you. As an Amazon Associate I earn from qualifying purchases.
Compared on lid hygiene
| Product type | Best for | Risk estimate | Where to buy |
|---|---|---|---|
| Replacement Silicone Lid Seals | Worn or stained seals | 28/100 | See listings on Amazon |
| Bottle and Straw Detail Brush Set | Reaching gasket grooves | 10/100 | See listings on Amazon |
| Bottle Cleaning Tablets | Soaking between deep cleans | 18/100 | See listings on Amazon |
Risk estimate is our editorial Fear Index for the product type (lower is safer), not a customer rating. How it is scored. The buttons open Amazon search results rather than one listing, so check the model on the product page.
Bottle and Straw Detail Brush Set
Lid residue survives because nothing reaches the groove. A small brush fixes that.
- Reaches under-gasket grooves
- Cleans straws and spouts
- Cheap and reusable
- Bristles wear and need replacing
- Adds a few minutes per lid
Replacement Silicone Lid Seals
If a seal stays stained after cleaning or no longer sits snugly, replace it. Check the manufacturer’s parts first.
- Restores a clean seal
- Far cheaper than a new bottle
- Can cure a slow leak
- Must match the lid exactly
- Generic seals may fit loosely
More: Coffee and Drinks analyses and how the Fear Index is scored.
Questions people actually ask
How do I get mold out of my water bottle lid?
Remove the gasket and any straw, soak the parts in warm soapy water, brush the groove and threads, and dry everything fully. If staining remains in the seal, replace it.
Can you put an insulated water bottle in the dishwasher?
Many can, but check the manufacturer’s care information. Thermos advises the top rack only and avoiding the high-heat drying cycle, which can stress the vacuum seal.
Can I use bleach to clean my water bottle?
Thermos and Stanley both advise against bleach, which can degrade seals; Thermos adds that it can corrode stainless steel over time and suggests baking soda or vinegar instead.
How do you remove a silicone gasket from a bottle lid?
Work a blunt tool or fingernail under one edge and lift it out of the groove. Avoid sharp picks, and note its orientation so it seals when reinstalled.